
|
Hints & Tricks - Landscape - Mountains made from Styroform
Mountains made of Styroform is realistic, low cost and easy to make!
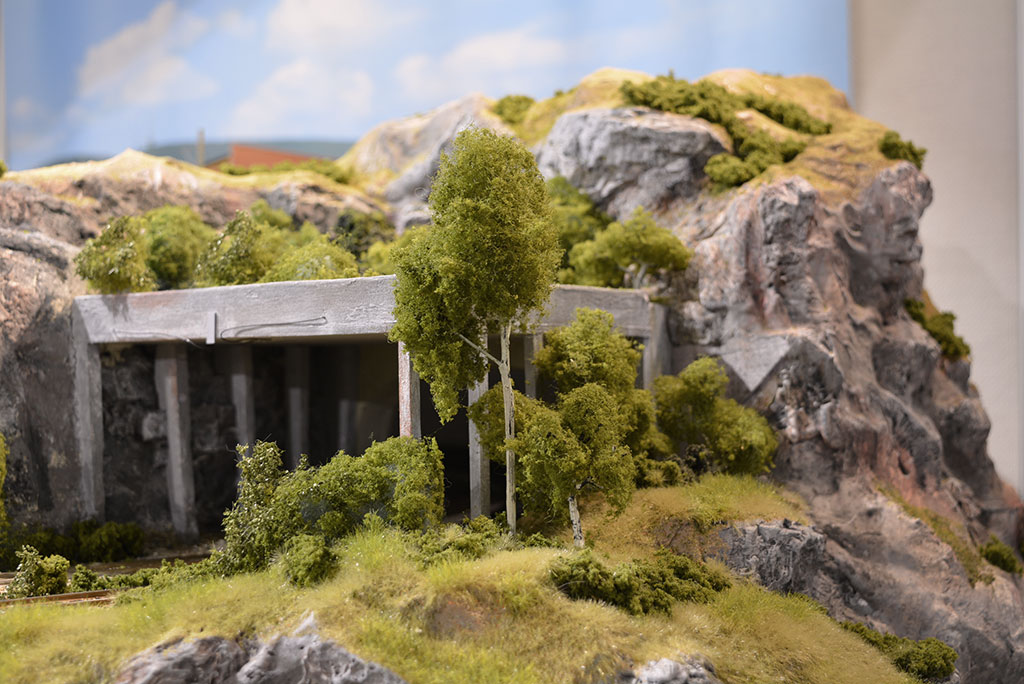
I’ve tested numerous of methods to make hills and mountains and come to the conclusion that a sculptured and painted base of hi density Styrofoam gives the best result. However, this method is in general more work than chicken net/plastered, so maybe not the optimal choice if you are looking for the “quick and easy” method. It is also dependent of the type of structure you have chosen. As said earlier, I have my layout with all of its components free standing on a table, so parts or the entire MRR can be removed within minutes.
Related How-to videos:
 |
 |
Making hills and mountains
The hi-density foam board usually blue, or purple comes in 30-60mm thick boards. It is therefore necessary to glue several boards together in order to make the taller mountains. I use white glue for wood for this purpose. I first cut the board to size and then stack the required numbers of board layers to check how it looks on the layout. If okey, then I put glue in between the levels of boards and leave it to dry under light pressure for 24 hour.
Clean cut using Kanthal wire
It gets very messy if Styrofoam board is cut by a knife. I therefore use a 0,7mm diameter Kanthal wire which I feed 4 Amperes through to get the right temperature. The Kanthal wire is commonly used in irons and other electrical heaters and is available from your local electronics shop. I bought mine from Swedish ELFA AB, P/N # 60-807-09.
Fine structure with razorblade
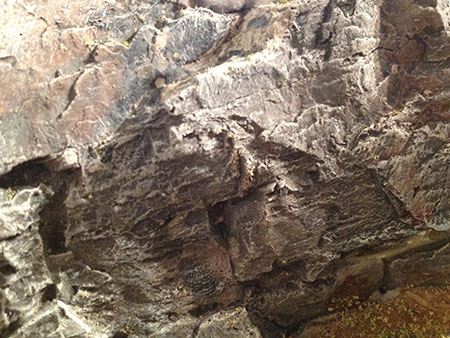
I start to cut the rough outline shape using the Kanthal wire, but then move over to razorblade, or even screwdrivers to get the fine structure in the mountainsides. Please look to so that those surfaces, which will show bare rock, is cut so that it sticks out from the surrounding surfaces. Grind the all surfaces which later will be covered with grass and earth so they instead get a smooth appearance.
Plastering with Husfix
Cover the whole surface with really thin layer of plaster. I use a type which doesn´t crack or shrink. It´s called Husfix here in Sweden.
Mountain side made of foam board. Photo taken after the 2nd layer.
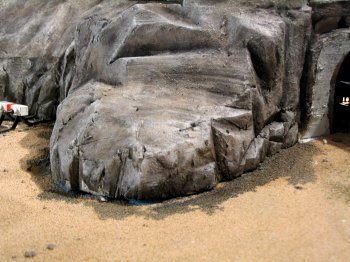
3rd layer
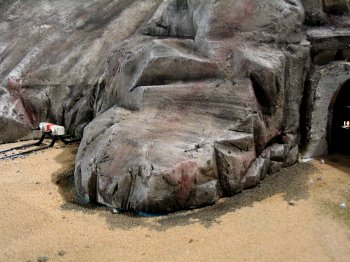
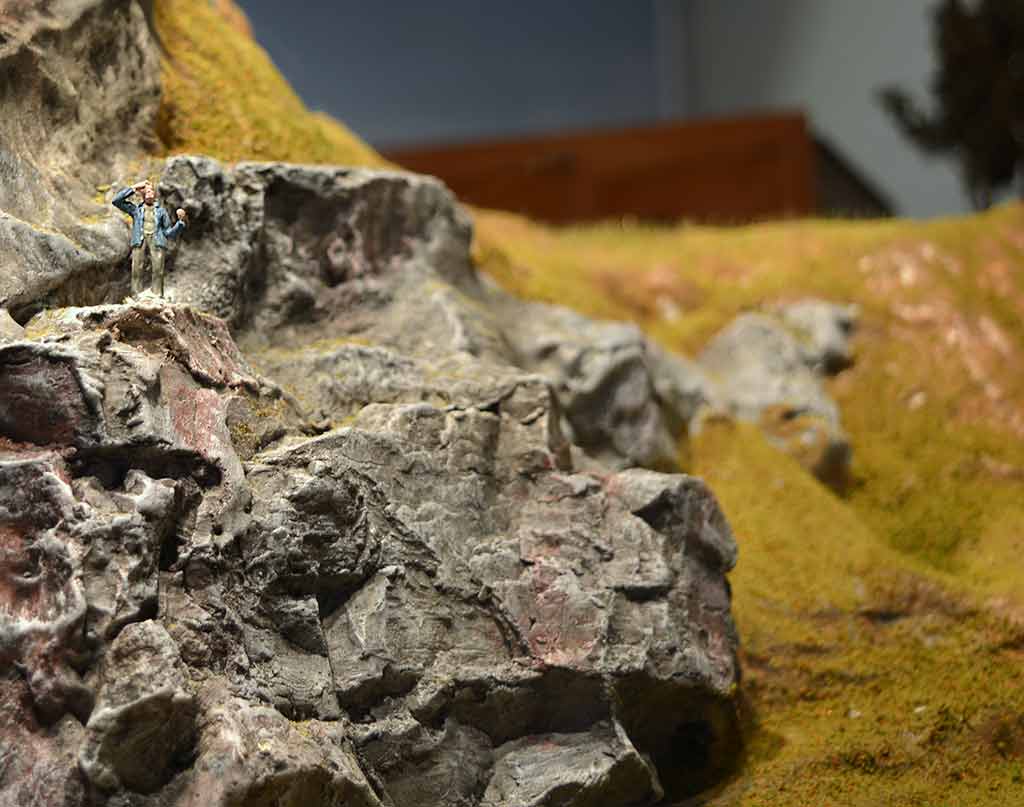
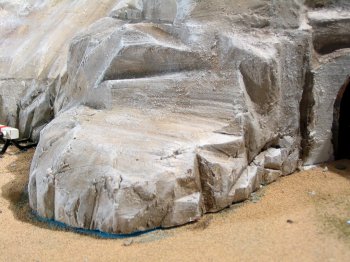
The finalised paintwork.
First layer of paint
Apply a thin layer of blended gray Acrylic paint all over the mountain. The blend consists from oxide white and raw green umbra.
1st layer of paint
När denna torkat ordentligt är det dags att måla
berget i flera olika grå nyanser som blandas av Akrylfärger
på tub. Använd oxidvitt och rå umbra.
2nd layer
Then I add a layer of oxide white using a hard brush. The brush should contain only very little white, so that only the most extended parts of the bare rock gets a touch of the white colour.
3rd layer
When it is properly dry, apply a much thinned black acrylic paint all over. Wipe it off again using a slightly wetted sponge. Now the black paint will only remain in cracks and holes. The purpose is to have the black paint highlight those areas.
4th layer:
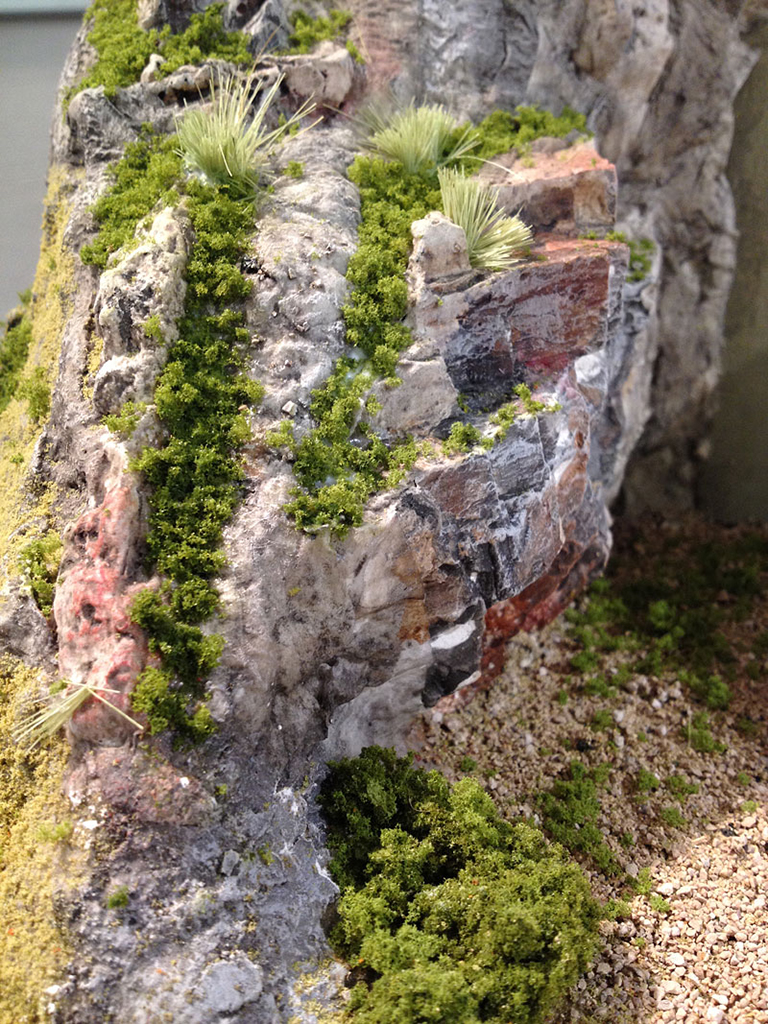
Apply strokes of iron red and green umbra acrylic paint to add realism. Areas which later will be covered with vegetation are instead painted with a yellow/green acrylic blend.
Turf and bushes
Cover all surfaces which not should have turf with paper. Apply thinned white glue with a brush on all surfaces that will be covered with vegetation. Apply Woodland Scenic fine turf, colour burnt grass and yellow. Add coarse turf whenever suitable in colour burnt grass and light green. Fix the turf by applying thinned white glue with a sprayer.
/ Martin T